Updating an old home often means bringing electrical equipment up to code. Nowhere is this
truer than in bathrooms, laundry rooms, and kitchens, where a GFCI outlet is mandatory.
Fortunately, installing a GFCI outlet is a fairly simple task that shouldn’t take you more than 15
minutes.
GFCI stands for Ground-fault circuit interrupter. These outlets contain a circuit breaker that will
cut off the flow of electricity if there is a ground fault or if it detects a current leak. This protects
you from electrocution or electric shock. It also keeps the entire circuit from tripping.
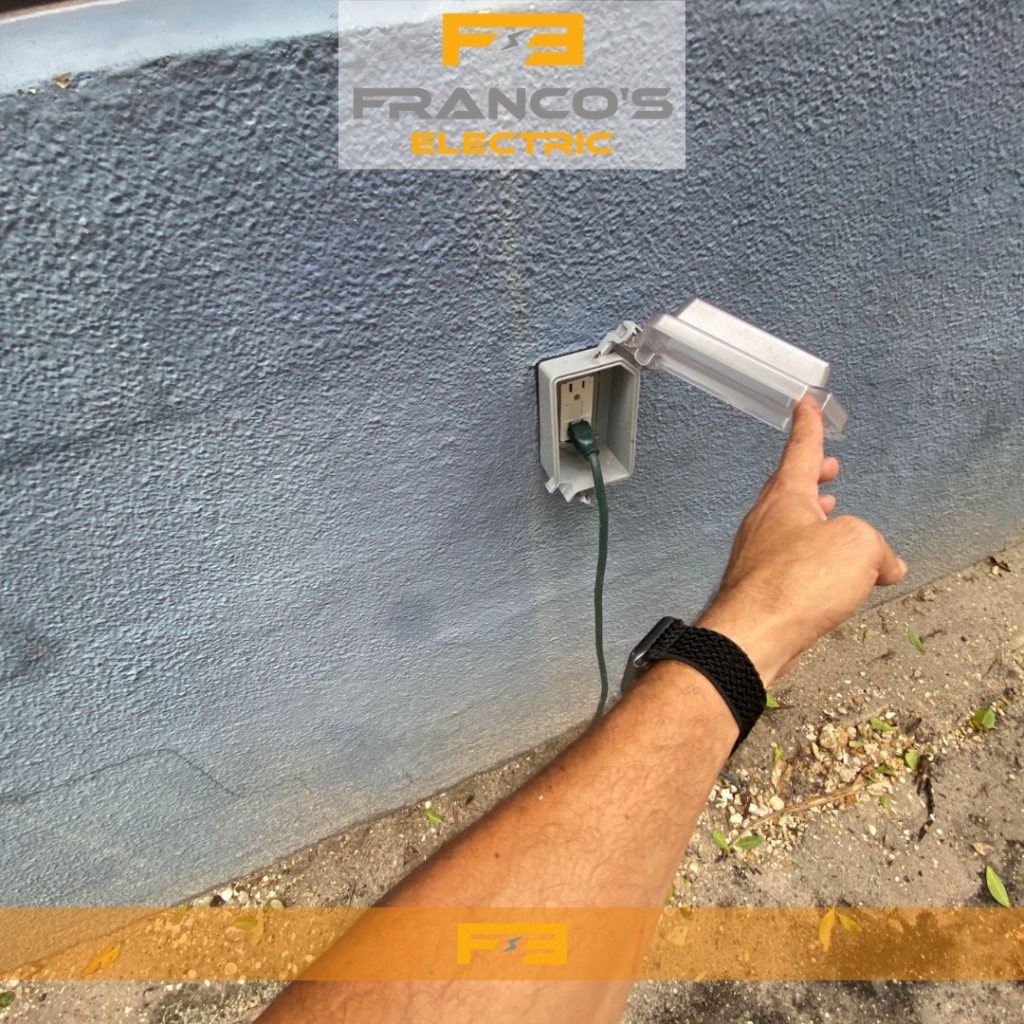
These are required for countertop receptacles in kitchens, bathroom outlets, or laundry
rooms near water sources. Likewise, 15A and 20A receptacles located outside or within
unfinished parts of a building, such as your garage, must also have GFCI protection. This also
includes outlets installed in crawl spaces or unfinished attics.
They are not necessary if the outlet is not easily accessible. For example, a ceiling-mounted
outlet in the garage does not need GFCI protection. Another exception to the rule is if you are
running a circuit specifically for a dedicated device, such as a sump pump in your basement.
The process is nearly the same as installing a normal outlet. However, there are a few additional
testing steps required to make sure the GFCI features are functioning properly
Step 1: Turn Off the Power
Before beginning any electrical work, you should turn off the power at the circuit breaker or
fuse box. Make sure nobody else unexpectedly turns it on. Use a voltage tester on the outlet
you’ll be replacing to ensure that the power is off.
Step 2: Take Out the Old Outlet
Use a screwdriver to take out the screws on the wall plate. In an older house, you might need to
bring along a utility knife to pry off the plate if it had been painted over. With the plate
removed, proceed to unscrew the outlet from the wall box.
Pull the outlet out carefully and detach the wires. Discard the old outlet or place it somewhere
out of the way. Make sure you don’t sit or step on it and scratch your wood floors as I have in
the past.
Step 3: Prepare the Wires
Straighten out the wires. This would be a good time to trim them down if needed, as GFCIs take
up more space in the wall box. You may want to set the outlet in place to get an idea of how
much space you’ll have left. Use wire strippers to leave about an inch of bare lead on the ends.
If you have old cloth-covered wires or the sheathing is crumbling away now is a good time to
wrap the wires in electrical tape to prevent potential fires.
Separate the wires carefully to ensure they are not touching. Now you can turn the power back
on and proceed to test the wires to determine which is the hot/lead and which is neutral in
case the old wires are not color-coded. Typically black will be hot and white will be neutral.
Using your voltage tester, place the probe on what you think is the hot wire. If it lights up then
move it to the white/other wire. This wire should not cause the voltage tester to light up.
Mark your wires accordingly and turn the power back off.
Step 4: Install the New Outlet
Take a look at your GFCI outlet. You should see three screws: brass, silver, and green. The hot
black wire you identified will connect to the brass screw, while the white line wire you identified
goes to the silver screw. Green is always ground. If you have an old house without a ground wire
you can skip this part and the outlet will still function normally.
Loosen the terminal screws on the outlet enough to allow the wire leads to enter, and then
screw them down. Ensure that no bare wires touch or come into contact with any metal in the
area.
From there, all you need to do is place the outlet back into the box and screw it in. Push the
outlet gently, you may want to reach in and pinch the wires to help them bend and fit inside the
wall box. Don’t forget to attach the new wall plate.
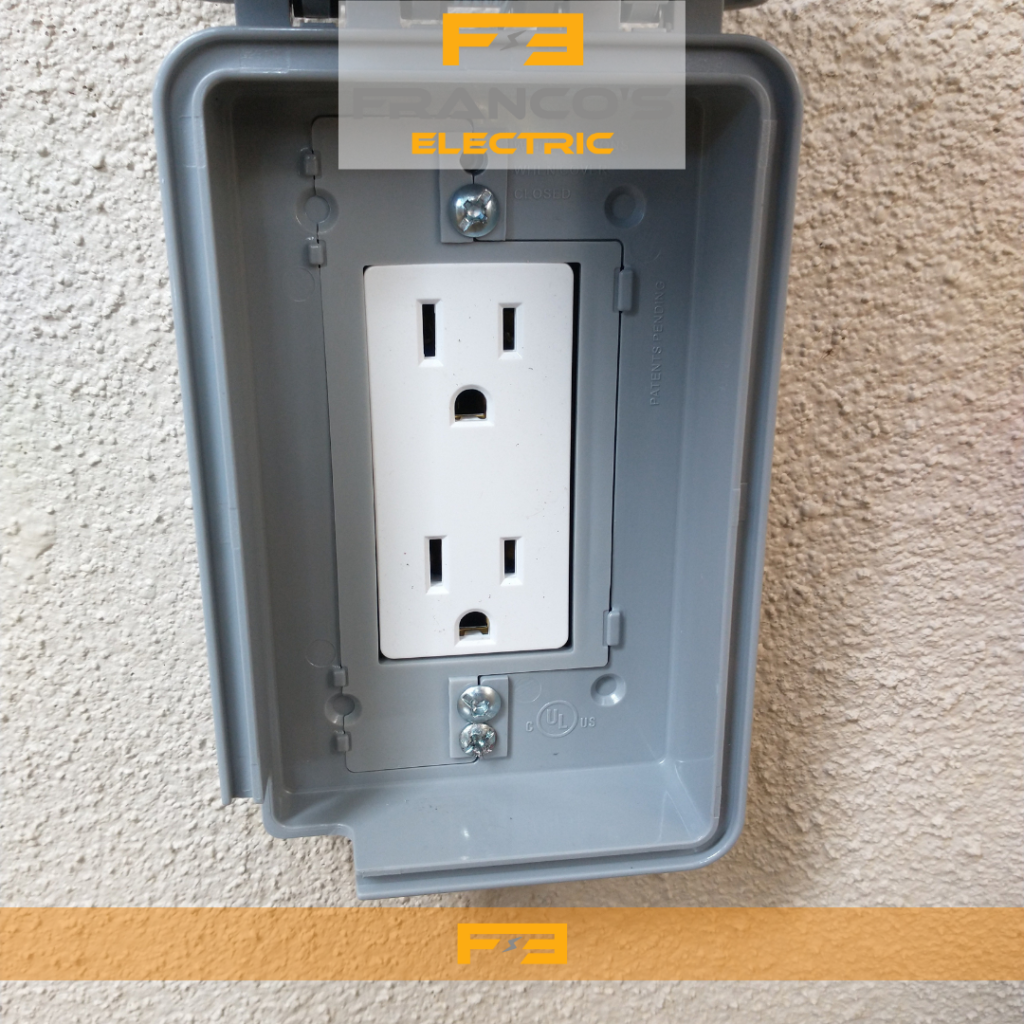
Step 5: Test the New Outlet
The whole point of a GFCI is to have adequate protection, so you’re going to need to make sure
that protection is working correctly.
Turn the power back on and head back to the outlet. GFCIs have two buttons, a “test” and
a “reset” button. If there is a fault or short circuit, the reset button will pop out and need to be
pressed back in. If there is still a fault, this button will stay extended.
The test button will create a brief short circuit, enough to trip the breaker inside the outlet.
Press the test button and the reset button should pop out. Press the reset button back in, and it
should stay put.
If the test and reset buttons work properly then the connections are good to go and you can
step back, admire your work, and pat yourself on the back. If they don’t then it’s likely you have
a loose connection somewhere so you’ll need to turn the power off and go back over your
connections.